

· Last updated on
You want to show who your loved one was during the funeral. At the same time there is little time and a great deal to arrange. On this page you can read, step by step, how to make a funeral presentation, from the very first photo to the moment it appears on the screen in the chapel. You don't need any experience with PowerPoint.
What is a funeral presentation?
A funeral presentation is a series of photos, text and sometimes videos shown on a screen during the funeral service. The music usually plays along and the photos change by themselves. During a speech, a calm image stays on screen, often the memorial photo.
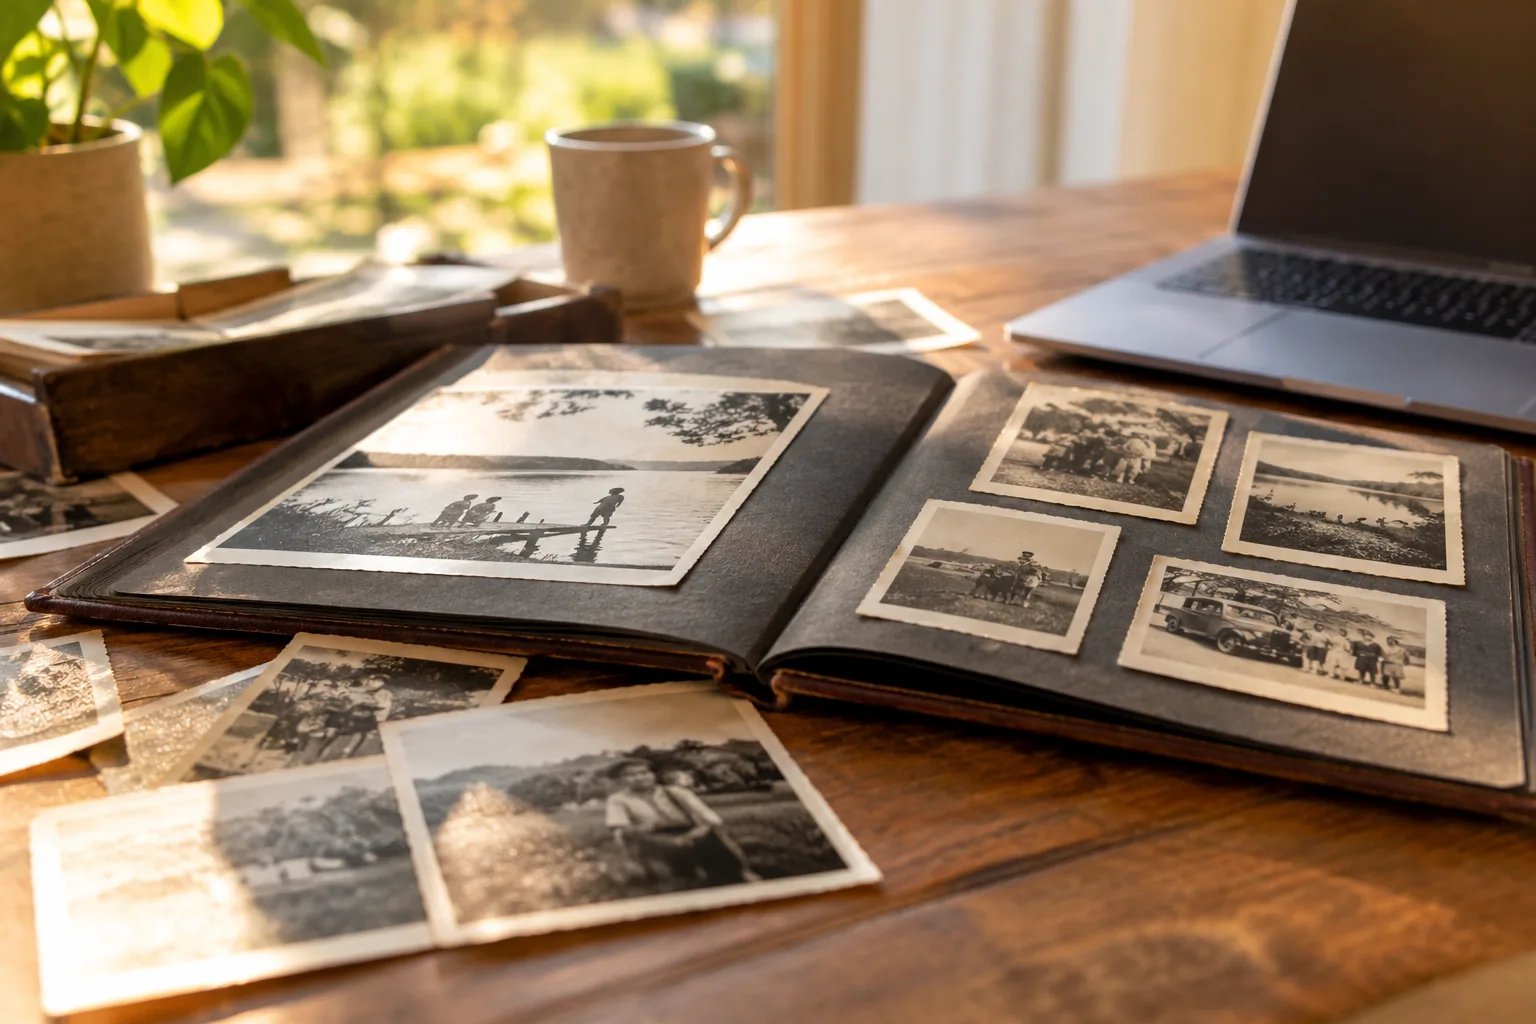
Photos show something that words sometimes cannot. The holiday by the sea, the hands in the vegetable garden, the laughter at a birthday. For family it is recognition. For others in the room it is an introduction to a side of the person who has died that they may not yet have known.
A presentation is more than a series of photos. It follows the order of the service: the entrance, speakers, musical moments and the final farewell. We come back to that in step 5. Curious how this used to be done? Then read how images changed the way we say goodbye.
Before you begin
There are usually only a few days between a death and the funeral. A good start saves a lot of stress later on. So discuss these points with the funeral director or the venue as early as possible:
- When will the presentation be shown? Throughout the whole service, only during a few pieces of music, or also as a presentation at the wake? That determines how long it will be.
- What file does the venue want? Most crematoria and chapels use Microsoft PowerPoint on a fixed computer. Read more about a presentation for a cremation.
- How and when do you deliver it? By download link, on a USB stick or both. Many venues want the presentation 24 hours in advance, sometimes earlier at the weekend. See also the timeline of a funeral presentation.
- Who operates the presentation? Often a member of staff at the venue. That person will want to know when to click.
Ask for the order of the service as well, if there already is one. You will need that running order of the funeral service later, when you build the presentation.
Step 1: gather photos
Cast your net wide. Look in photo albums, on phones and computers and on social media. Ask family, friends and colleagues whether they have photos too. They often have pictures you have never seen.
Set up one place where everyone can add photos, such as a shared folder, and agree when the collecting stops. You can digitise old prints with your phone: lay the photo flat in daylight and photograph it straight from above, without flash. You will find more tips in gathering photos and digitising old ones.
Only a few photos? Then you can also use photos of places, objects or a handwritten note. See making a funeral presentation with only a few photos.
Step 2: choose and arrange the photos
Choose photos in which the person is recognisable, and above all photos that tell something. A hobby, a pet, a favourite spot at home. Alternate portraits with group photos and moments from different stages of life. Leave out blurred or duplicate photos, unless a photo is especially dear. You will find more in our 7 practical tips for choosing photos.
How many photos you need depends on the music. At around 7 seconds per photo, a song of 3 to 4 minutes holds 23 to 34 photos. With three musical moments, you will therefore need roughly 70 to 100 photos. The full table is in how many photos you need for a funeral presentation.
There are two common choices for the order. Chronological, from childhood to the present day, tells a life story. By theme, such as family, work and travel, works well if you want to show a different part of their life with each piece of music.
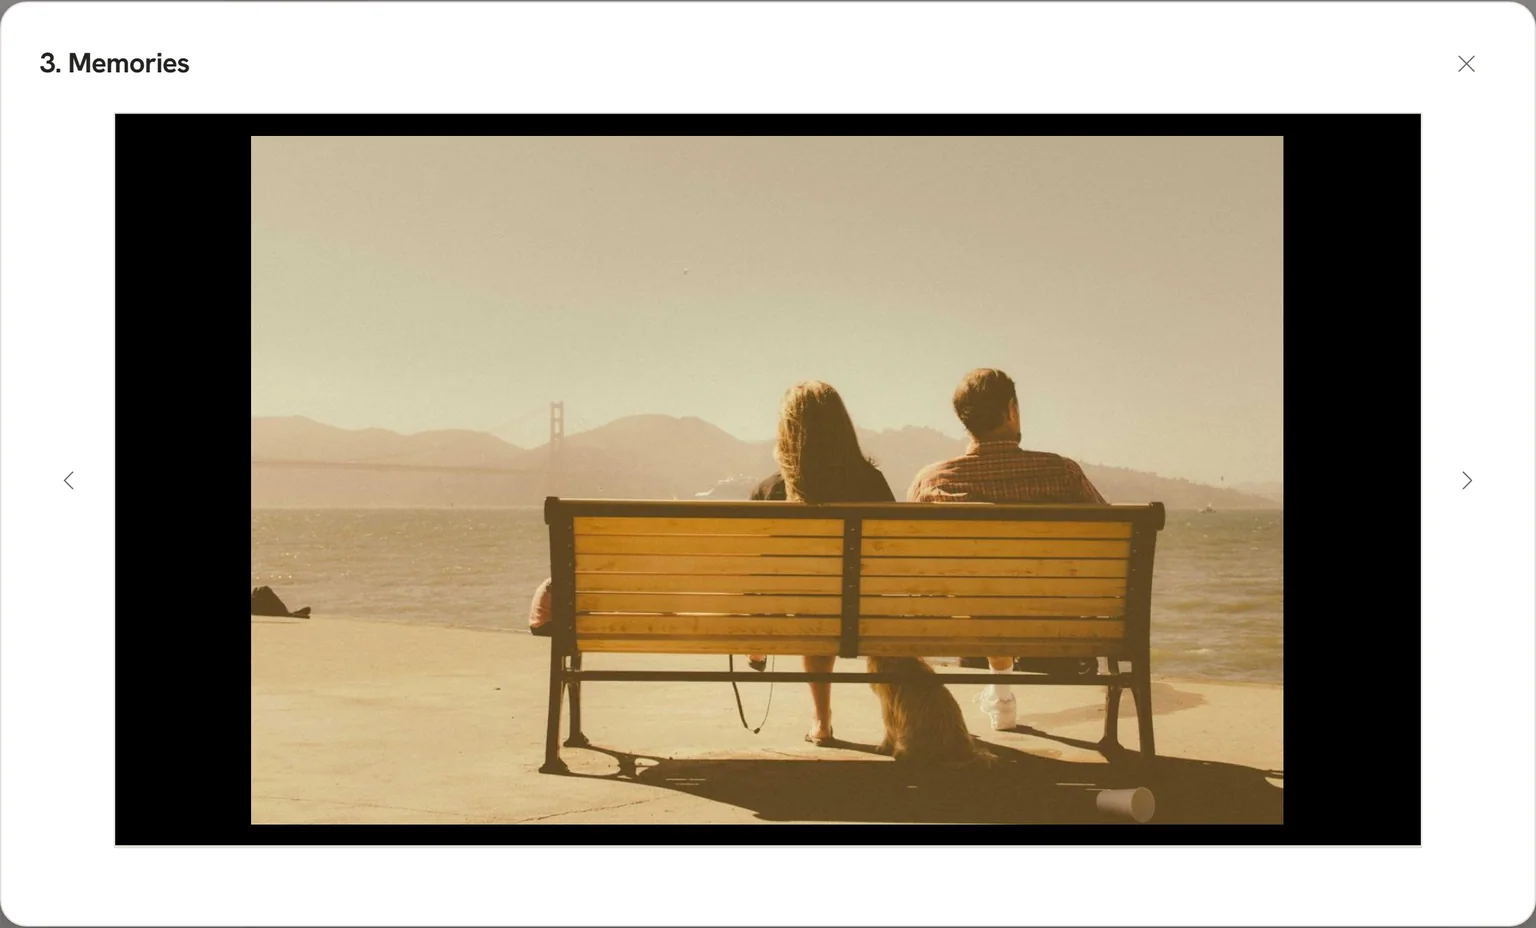
Choose the memorial photo with care, too. It is on screen the longest: at the entrance, during the speeches and at the final farewell.
Step 3: choose the music
Choose one song for each musical moment. These are often songs the person loved, or songs that belong to a particular period of their life. Think about the mood as well: a calm piece for the entrance, something personal with the photos, a song to close with. Where to start? Read choosing music for a funeral. For inspiration, see the most played funeral songs.
The length of the song determines how long the photos are on screen. In our tool, the time per photo is matched to the music automatically. So you don't have to do any sums yourself.
Want to use music that isn't your own? Ask the venue how they handle that. More on this in playing music at a funeral and the rights involved.
Step 4: add text
In a funeral presentation, text is a supplement, not the main event. The photos tell the story. A few natural places for text are:
- Opening image: name, date of birth and date of death, with the memorial photo.
- Captions: only where they really add something, such as a year or a place.
- Closing image: a short line, a text of your own or a word of thanks.
Our tool does not put text on a slide itself. If you want the name and dates on screen, create the text as an image and add it as a photo. Keep text short and easy to read, even from the back of the room. You will find examples in text in a funeral presentation.
Step 5: build the presentation
A good presentation follows the order of the service. That is why you build it in blocks:
- Entrance: a calm image, often the memorial photo, with music if you like.
- Speaker: a still image until the speaker has finished. The operator then clicks on.
- Music with photos: the photos move along with the song by themselves.
- Live music: while someone plays or sings, a calm image that stays on screen or a series of photos that change by themselves.
- Video: a clip that starts by itself and then moves on.
- Custom: a few photos you arrange yourself. For each photo you choose whether it moves on after a set time or waits for a click, for example for a speaker who wants to show several photos.
- Final farewell: the music plays on until the room is empty.
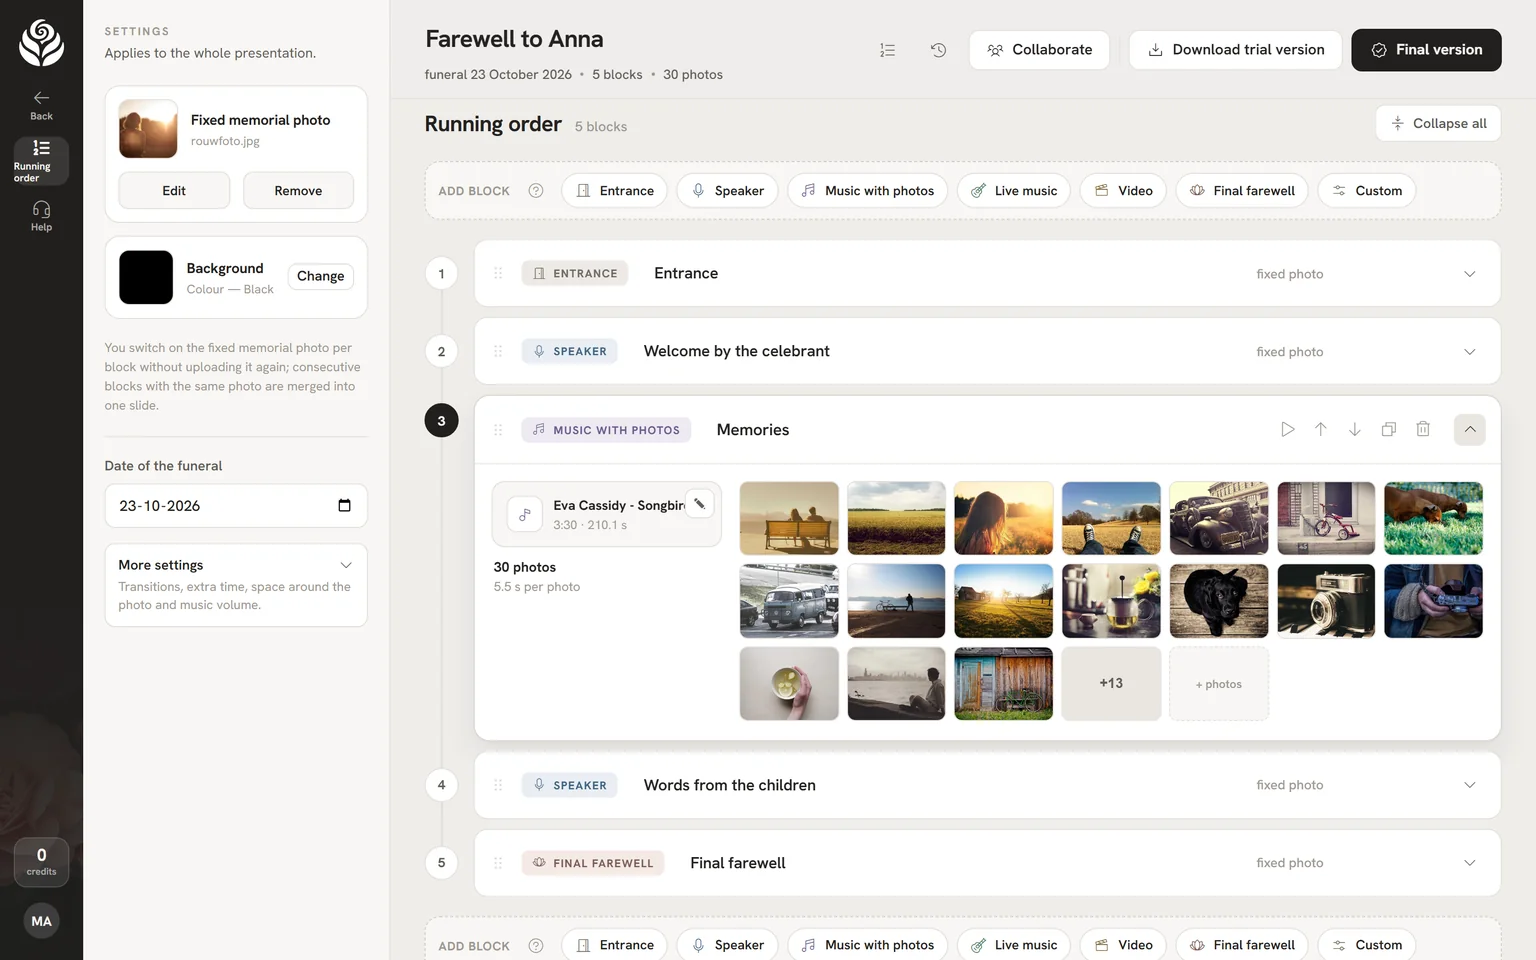
Put the blocks in the same order as the running order of the service. That way the operator always knows where they are. You can also see which parts there are on the page parts of a funeral presentation.
Making a presentation like this yourself in PowerPoint looks simple, but it does take some experience with the program. Music has to carry on across several slides, and the timing has to be exactly right. With our tool you choose the blocks, upload photos and music, and the tool turns them into a funeral PowerPoint. With the running order, photos and music to hand, you can build it in half an hour to an hour. Building the presentation and viewing a trial version are free.
Step 6: check the length and the pace
Watch the whole presentation once, with the music on. Pay attention to these points:
- Is every photo on screen long enough? Around 5 seconds or less soon feels rushed, especially with a calm song.
- Are the transitions gentle?
- Does the order match the running order?
- Are there no duplicate photos?
A funeral service usually lasts about an hour. The presentation often takes up 20 to 45 minutes of that, depending on the number of musical moments and speakers. You can read more about the design, such as the background and the borders around photos, in the design of a funeral slideshow.
Step 7: deliver and test
Deliver the presentation in good time, ideally the day before the funeral. If you use our tool, the venue receives a download link, without needing an account. Bring a USB stick as a backup if you like. How to arrange this is explained in delivering a funeral presentation to the venue.
Play the presentation in Microsoft PowerPoint on Windows or Mac. LibreOffice and Keynote do not always handle the timing and the music correctly.
If possible, test the presentation at the venue itself. Then you can see how the photos look on the big screen and how loud the music is. Give the operator an overview of when to click as well. Use the checklist for playing it at the funeral venue for that. Is the service being streamed? Then also read showing the presentation during a livestream.
Has something changed at the last minute? In our tool you can make changes free of charge until 7 days after the funeral. The new version is then available at the same link.
Rather not make it yourself?
Not everyone has the time or the peace of mind in these days to make a presentation themselves. That is entirely understandable. There are three options:
| Make it yourself with our tool | Have us make it | Through the funeral director | |
|---|---|---|---|
| What you do | Upload photos, music and running order, and build it | Send us photos, music and running order | Discuss it with the funeral director |
| Cost | Building free, final version €24.95 | On request | Varies by funeral director |
| Suits you if | You want to design it yourself | You don't have the time or headspace for it | The funeral director offers this as standard |
Not sure? Then read whether to have the funeral presentation made or make it yourself, or see what a funeral presentation costs.
After the funeral
Many families want to keep the presentation. Download the final version and store it somewhere you can find it again. With our tool, the data is deleted 30 days after the funeral, so do this in good time.
A presentation can take on new meaning later. For example at a memorial service, on a birthday or on the anniversary of the death. See keeping the presentation and using it at a memorial.
Frequently asked questions
How many photos do I need for a funeral presentation?
That depends on the music. At around 7 seconds per photo, a song of 3 to 4 minutes holds 23 to 34 photos. With three musical moments, you will need roughly 70 to 100 photos.
How long does a funeral presentation last?
A funeral service usually lasts about an hour. The presentation often takes up 20 to 45 minutes of that. Exactly how long depends on the number of musical moments and speakers.
What file does a crematorium want?
Usually a PowerPoint file (.pptx), in a 16:9 aspect ratio. Check with the venue to be sure.
Do I need experience with PowerPoint?
No. With our tool you choose blocks and upload photos and music. The tool turns them into a PowerPoint that the venue can play.
Can I still change something after delivering it?
Yes. In our tool you can make changes free of charge until 7 days after the funeral. The new version is available at the same link.
What does it cost?
Building the presentation and a trial version with watermark are free. The final version costs €24.95 per funeral. Have a look at our prices as well.